

Michael Raun Home DIY Project: Creating a Holiday Wreath
It’s amazing how quickly the holidays come around and even more exciting, is the prospect of what you can create for the coming season. My obsession with nontraditional takes on the holidays has fueled my need to find inexpensive, unexpected materials that translate into chic holiday décor.
Two years ago I was walking through Party City looking through decorations when I came upon a black feather boa. I was having my best friends birthday party at my apartment and thought the boas would drape well in creating an over-the-top Art Deco party feel. Two months later as the holidays were approaching I immediately thought of repurposing the boas into holiday wreaths. The sheen, color and texture would translate well as the base of a wreath and would set the tone for my version of the holidays.
Using a black feather boa to create a holiday wreath
What you will need:
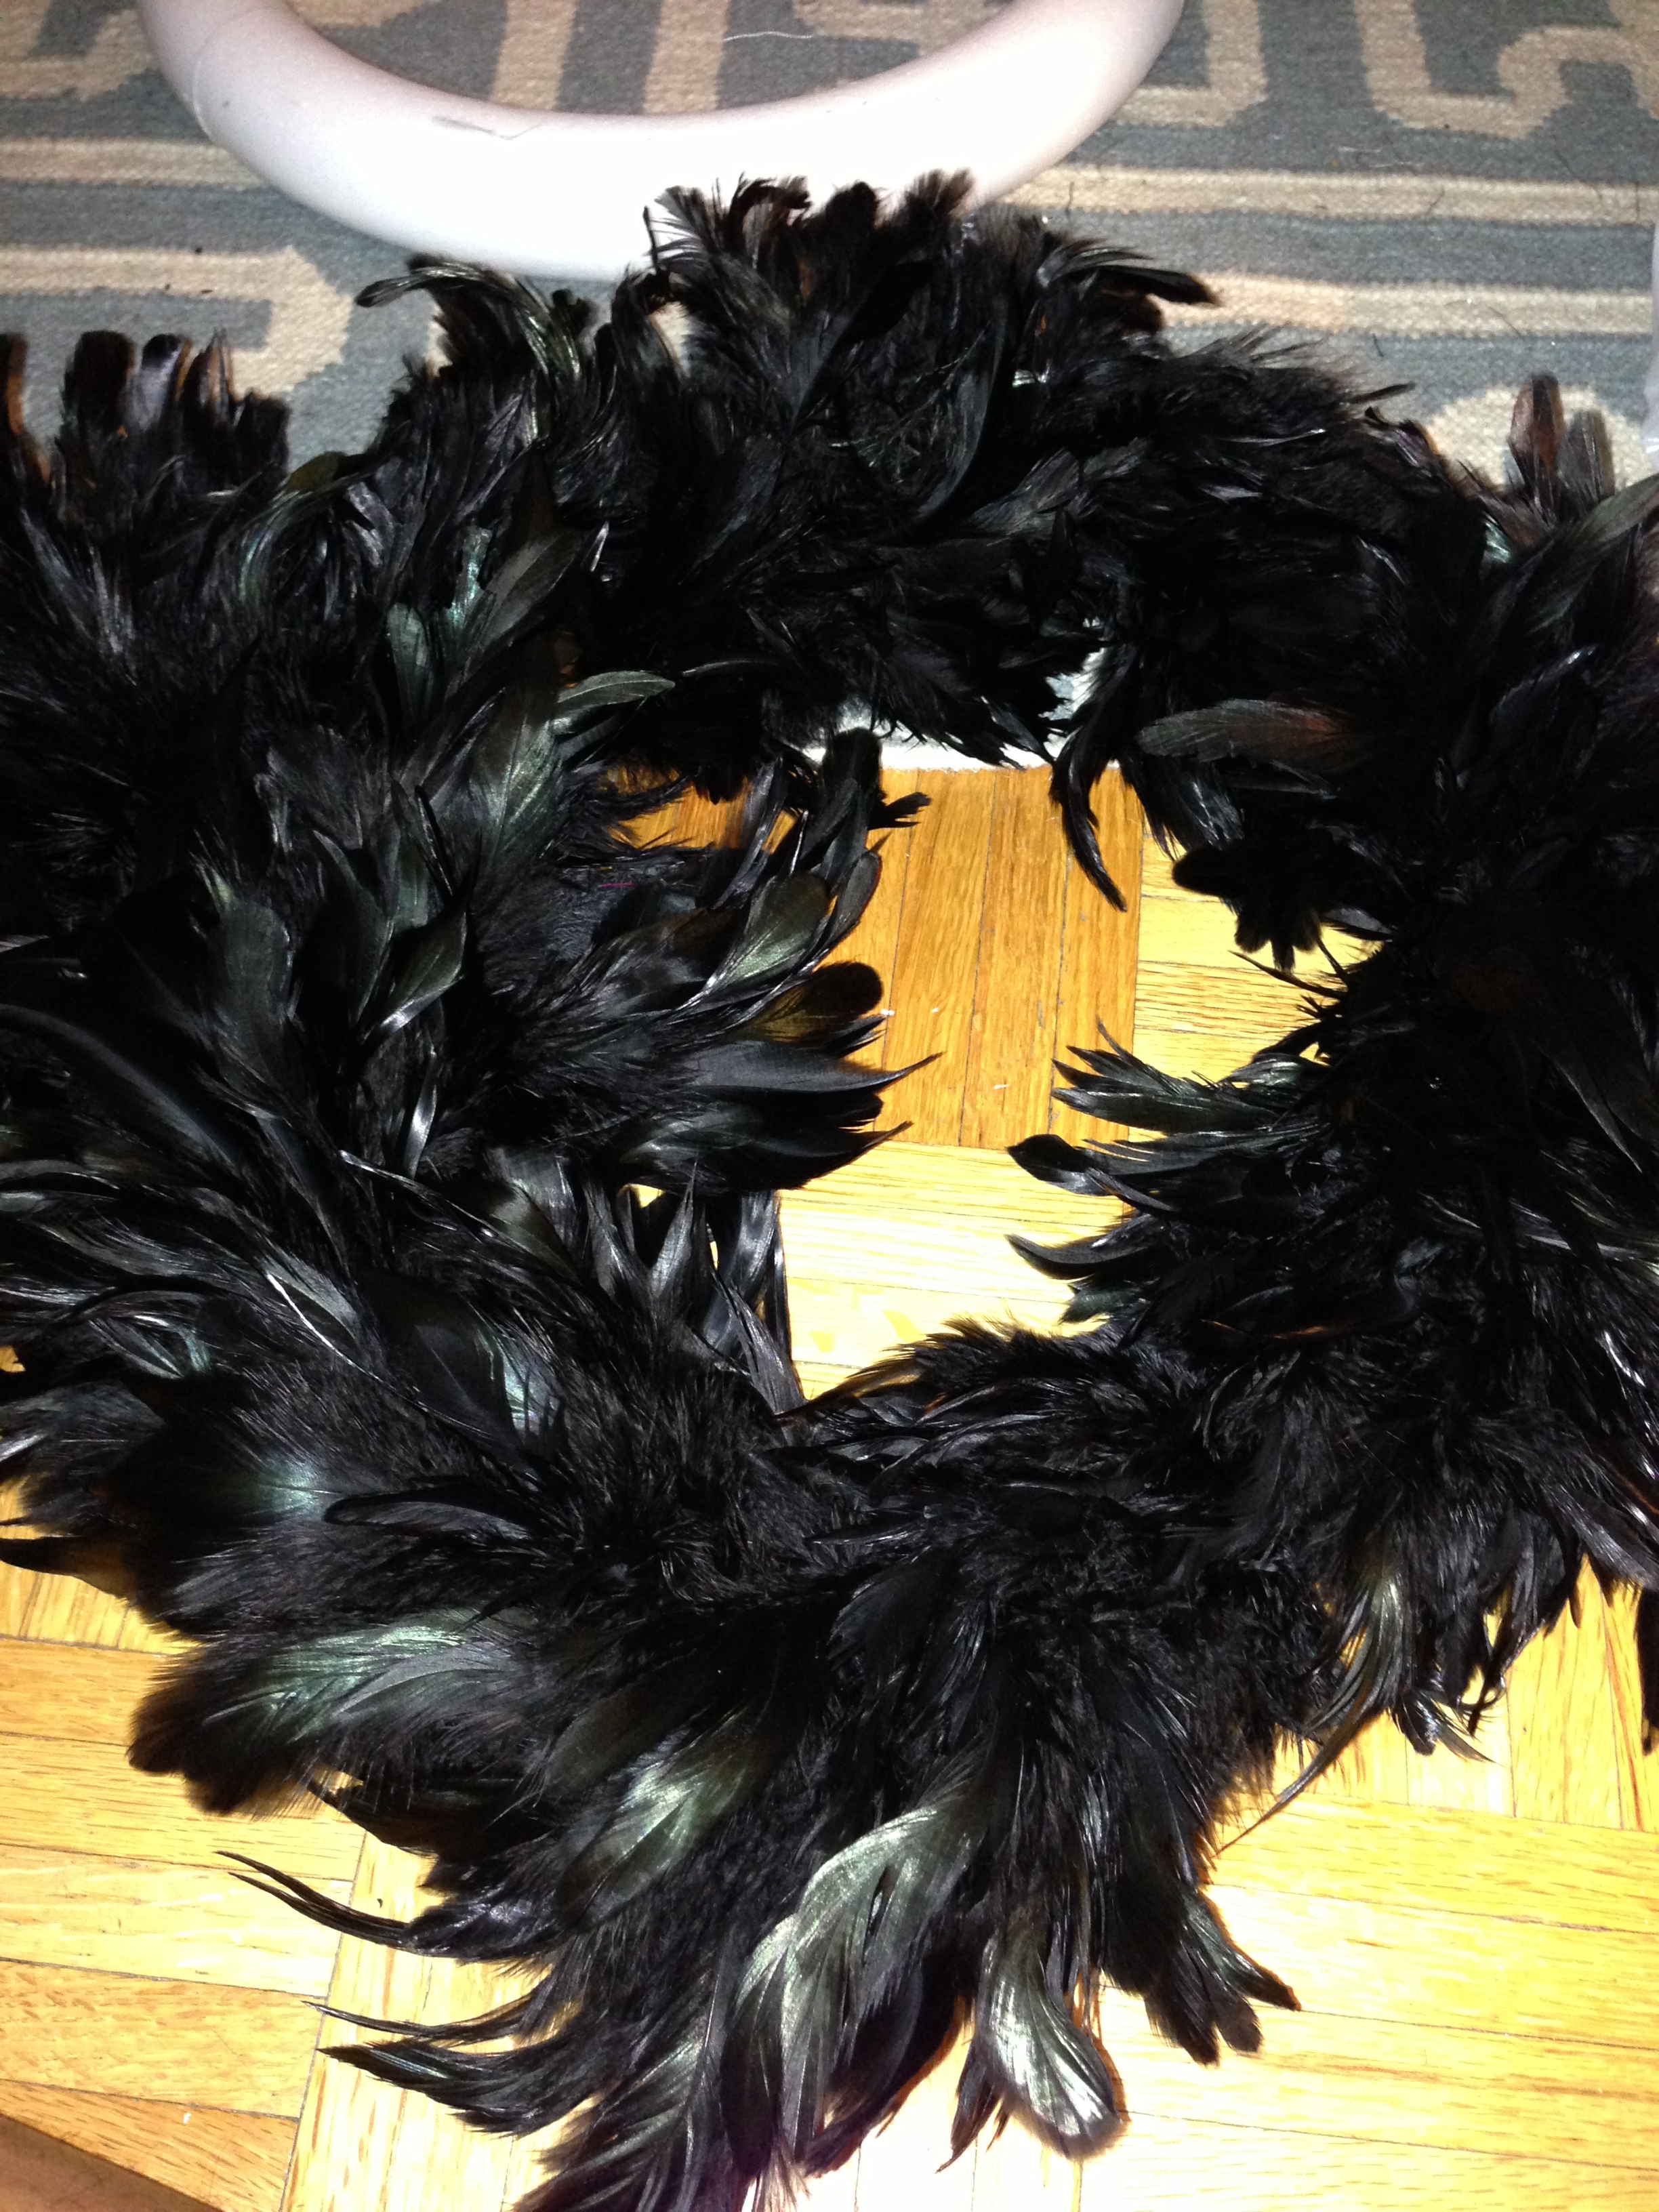
- Wreath ring orform (you can find item at Michael’s craft stores

Michael Raun Home Holiday DIY wreath project
- Feather Boa (s) (you can find item at Party City)

Michael Raun Home DIY Project: Making a Holiday Wreath
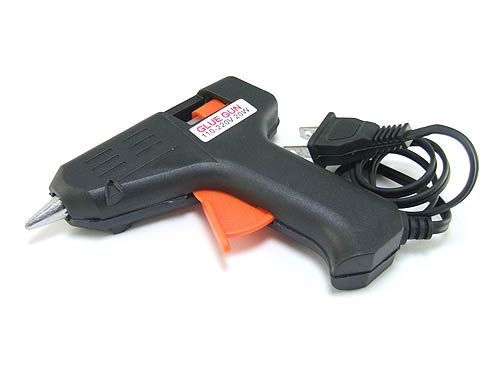
- Hot Glue Gun ( You can find at the dollar store or at Michael’s)

Michael Raun Home DIY Project: Making a Holiday Wreath
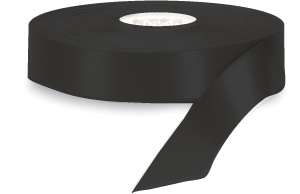
- Fabric Ribbon (you can find at Michael’s)


5. Command Strip hook

Michael Raun Home DIY Project: Making a Holiday Wreath
The Process:
- Purchase the appropriate ring that is sized to the wreath you would like to create (think of where you might hang it and how big you will want it to be)
- Understanding the size and location will help in determining how many boas you should purchase.
- If you can, take the wreath ring with you to the store to gauge how many boas you will need
Purchase a number of boas, making sure to have enough if not more of the materials.
****Remember, for the finished product to look great, it needs to look full and you can always return boas that have not been used.
Also, look for feather boas that have great sheen, luster and fullness
- Spread plastic drop cloth across the floor giving yourself room to spread out
- Lay out your materials and begin to coil the boas around the ring. Having a good sense of direction is imperative to completing the project well.
- Now you know how to coil the boas and how many you will need, begin with the end glued to the back side of the wreath ring. We only want to see the feathers on the display side.
- Continue to wrap the boa around the ring, making sure to have the end of the first boa is glued to the back side. Trim the end of the second boa and glue it to the back side of the ring, continuing from where the first one ended.
- Use the glue gun to attach the boas to the ring making sure that you’re careful with not getting the glue on the finished feathers.
- Once you’ve completed the entire wreath, check to make sure the feathers are full and there aren’t any bald spots.
- Once you’re done, cut a strip of ribbon long enough to your desired hanging height, loop it around the top of the finished wreath and glue the two ends together.
- Congrats, you just made yourself a wreath and you are ready to hang it up using the Command Strip hook

Michael Raun Home DIY Project: Making a Holiday Wreath
- I used black feather boas but you can feel free to use other colors that fit your color story

Michael Raun Home DIY Project: Making a Holiday Wreath
